Showing posts with label diy projects. Show all posts

12.12.2011

Thank You Pinterest...

After perusing Pinterest, someone's Etsy creation gave me an idea to try at our home. Every time someone touches B's door (or dare attempts to go in there), the creak of the door and the clink of the handle makes enough noise to wake him up. Enter: Door Muffler

 Door Muffler in place
Close-up of it

This was a 5 minute project; hence the messy stitching, but so far it seems to be a solution.

All I needed was 2 fabrics (1 preferably felt or fleece), 2 pieces of ribbon cut in half and the sewing machine.


I also made these shirts after seeing something like them on Pinterest....

Crazy Reindeer


Snowman


Update on my stitching projects:
1st Monkey Bib finished
(notice the sleepy doghead in the corner)

Ribbon Blanket

I have been seeing these ribbon blankets/taggies/lovies in stores and boutiques everywhere since before getting pregnant and decided it would be a fun adventure to make it myself. It ended up being a very simple procedure.

First, I took a piece of fabric and divided it evenly in 2. I used the patchwork Penguin blanket material that matches B's throw.

Second, I chose a number of ribbon spools (various colors, sizes and textures) and cut them into 6" strands. I ended up doing 26 pieces so as to make 1 per each side of the blanket patch squares.


Next, I hand pressed and creased the ribbons.

Then, I pinned the blanket together so everything was evenly lined up and good side-good side. Afterwards, I went through and pinned the ribbon loops backwards (loop in the middle of the good sides), leaving the ribbon ends sticking out a 1/2".

Finally, Husby sewed around the blanket, leaving a small section open for turning. Then he turned it inside out and sewed the open edge closed (you could do this by hand to hide the stichwork, but given that the blanket is patchwork by nature, we figured it was safe to just sew on the machine closed).

Final Product:

12.03.2011

Another Baby Blanket


 Light & Dark Blue Minky fabric hooded wrap blanket

 Interior is blue Terrycloth


So GQ stylin'

4.25.2011

Quilted Diaper Bag (Handmade)

This is the new design for our diaper bag.

Ours is of course, Gator's theme, but this is one item we are willing to make for others. This can be customized to your favorite team theme or color scheme.


Inside the bag it has 6 pockets (2 small side pockets, 4 larger pockets-2 in front, 2 in back). Underneath the flap, are 2 outside pockets which are open on top, but can be made into 1 huge front pocket since they are divided by velcro closure. On the back of the bag (exterior) are 2 more deep pockets. The inside is very roomy, and on the outside are 2 elastic pockets perfect for holding bottles or sippy cups. I store so much stuff in this bag; it's amazing!

In addition, there is a matching quilted changing pad.

10.01.2010

Quilt Completed!


~The Ocean Quilt Husby designed~

9.05.2010

More Projects Complete...

and some special deals on gear...

Name Plaque
Baby G has a name
(Hint: There's an "e" in his name)

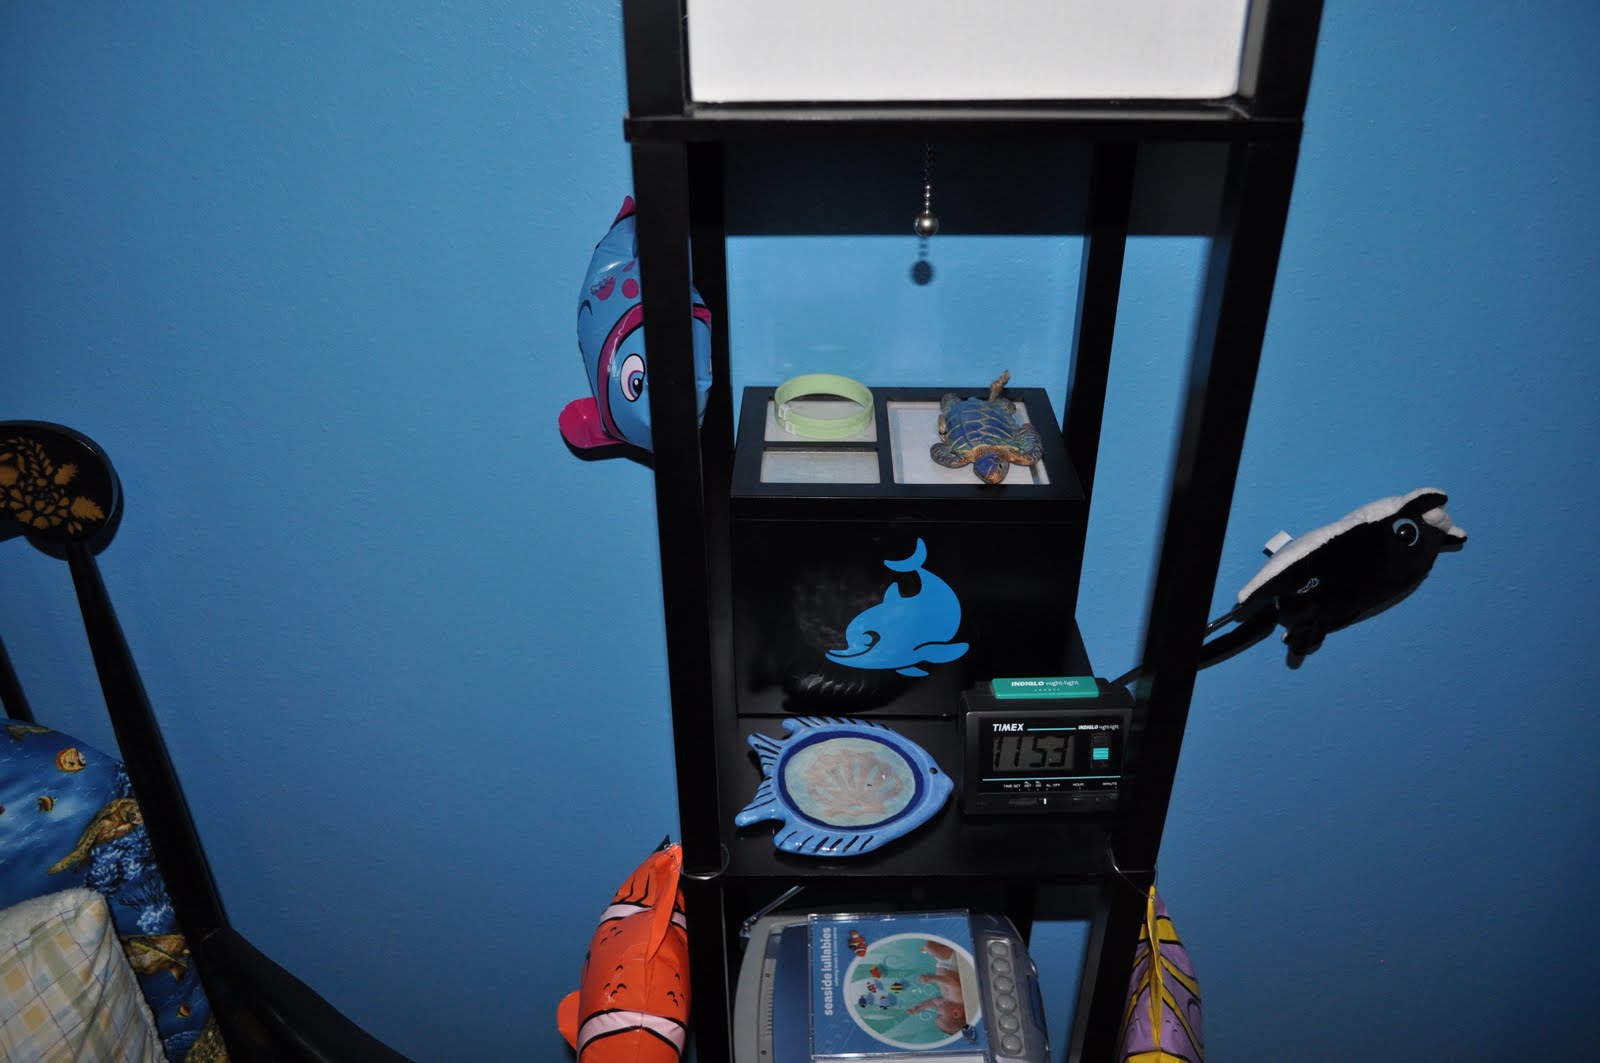
Redid the Photobox with decal to cover up its "age marks"

On another note, I got a promotion code for a free baby sling from the sister company of the company I bought my breastfeeding covers from. With the promotion, I paid $5 and S&H and got a sling, a pair of baby legs and a matching bracelet cuff for me...

The pattern matches my cover and was still neutral, yet cute for numerous usage.
I will review the carrier when Baby G arrives and we start using it...


8.19.2010

More Projects

With only a week left of my "summer vacation", I have been busy finishing up the projects for the nursery. Here are two more completed (or a majority completed):

*Name Plaque*

*Hint: There's an "a" in the name*

*Shadowbox*

*Shadowbox 2*
We were given this silver spoon with a bunny on it; way too cute to use as a spoon

*Family Tree*
Using our Card Tree from the Baby Shower, I made a family tree that will continue to grow
ETA: still missing some hearts, but I will fill in little at a time

8.02.2010

Next Project-Check!

The Dot Fabric Bib is complete...of course with a few hiccups, but it still came out decent.

The Bib

Front

Back

7.31.2010

Boppy Pillow

I just finished the alternate cover for the Boppy Pillow...


Just a few more sewing projects on the list....

7.29.2010

Another 1 bites the dust

The Toy Sack got finished tonight. Unfortunately, there are no pictures to post since I am waiting until we hang it on the wall. Laying it down does not justice for how it looks or will look when hung onthe wall. Husby is finishing redoing the shelves for the nursery, so once they get completed and reinstalled on the walls, I will get some pictures up for you all to see.

Here is it laying on the Changing Table:


A more aerial shot:


We decided to do 1 short shelf and 1 long shelf on the wall by the changing table. The long shelf will have a bar installed so the quilt Husby and I are working on will hang from it there. The other long shelf will be reinstalled over the closet, just like it used to be. Hopefully, then Husby will go through his Hot Wheels surfer car collection and pick out the best ones to hang back in the nursery.

Nursery projects are getting knocked off the list more and more each day. I am glad since we are down to the last 8 weeks! I started making a list tonight of everything we still need to find/purchase....it is a bit daunting to see a 4 pg Word document, but a lot of it is minor things like health and beauty aids and grocery items for post-partum. I'm accumulating my coupons and hoping our main stores have some sales in the next few weeks so I can stock up at a lower cost...otherwise it will be budget hunting (which I enjoy too!).

7.27.2010

Hamper Remodel

So remember the $5 hamper we found a few weeks back at Marshall's? Well, it has been redone...

The Original Hamper

The New Hamper

$5 Hamper + a coat of Black Paint + Some Wood Glue + Turtle Fabric + Turquoise Bias Fabric = New Hamper

7.24.2010

Clownfish

*Fleece Clownfish Blanket*

*For size comparison...Puppy on the blanket, Crib in the background*


7.22.2010

More Progress in the Nursery


*Organizing Baskets for the Nursery*
3 Espresso baskets of varying size with blue gingham liners (each has letters and/or numbers embroidered on them)
Most likely they will be used on the bookshelf and hanging shelves around the Changing Area

*Closet more organized & updated*
Painted a Fish bank (seen between the books on 2nd shelf)

*Hanging Organizer for Changing Area*
Starting to stock it with diapers, wipes and creams
It actually will hang on the other end of the crib between the wall & crib near the bookshelf


7.14.2010

On the Hunt...

I am still on the lookout for:

  • Florida Gators ceramic piggy bank
  • Florida Gators onesie for Homecoming outfit to match booties and cap
  • Bookend(s) for the bookshelf...preferably Sealife theme
  • Surfboard Fan pull
  • Surfing theme drawer pulls (9x)
  • Surfboard Growth Chart
Depending how the weather (& heat) is tomorrow, I may venture downtown to the Pottery Place and see if they have any of the above items that I can design myself. We shall see with the weather and how I am feeling...and how far I get with my homework and course projects...

More Nursery Pics

Over the Nursery Door

Over the door we placed this hologram-like image of an underwater scene. I plan to use some of the Nemo decals on the sides of it to liven the dead space up, but this is all tentative. The decals and name letters will probably be one of the last things to go on the wall.


Close-up Shot of the Picture

You can also see the texture look of the walls after Husby's splotch painting and color transitions


Shelves next to changing area

Previously, these shelves were an off-white color and were used in the walkway of our kitchen.
We used them to hold my Dad's German Mug collection, but since we redid the walkway and made it an arch, we decided the shelves no longer fit in the kitchen and the mugs would be better displayed on top of the cabinets around the kitchen.

So we decided to recycle them!
We found a cheap can of sand-texture spray paint at Walmart and Husby meticulously sprayed a coat or two on the shelves to make them fit more to our theme.

The top shelf has some photo frames (the 2 white ones I made earlier) and a Precious Moments picture from Husby's nursery. The books we have collected so far are also on this shelf. We plan to split the books between this shelf and a shelf in the closet. Currently, a bottle of shampoo is acting as a bookend, but that is because we have not found one yet. I think we will end up constructing a customized one if we do not find one soon, since they are an easy woodworking project.


This is the White Round Frame redone for Baby's boys monthly pictures.


Close-up of the Frame


7.12.2010

New Project

I "adopted" Peejay, the Sock Monkey, today. The directions say it is an easy project, so hopefully over the next few days while I am running solo, I will be able to complete him.

7.11.2010

For our Bookworm...

I also finished sewing 2 more soft books for the nursery tonight, since Husby was occupied with installing the closet.


*The 2 Books*

*Titled: Treasure Bears (aka Pirate Teddys)*

*Another Winnie the Pooh Book: Seasons of Adventure*

6.28.2010

Winnie the Pooh Soft Book

Another quick project was completed today. Over the weekend while picking up some necessary supplies for finishing the surfboard and window shade, I found a panel for another soft book. This one is titled, "Good Night Pooh". Since fabric was on sale, I picked it up and today constructed it. I even finished sewing it while I was waiting at the doctor's office today.

Here is the final project:


In between homework this week, Husby and I are going to attempt to construct the Clownfish Blanket. So far we have been able to cut out the patterns and sorted them to what color fleece they belong on. Hopefully later, I will be able to cut out the white pieces since Husby pinned them for me last night. Then it is on to Black and Orange (orange as the most, so we are leaving that one for last). once everything is cout out, then we can start laying the blanket out and connecting pieces together, but that may not occur unil after we get back from vacay. We shall see!

6.25.2010

Surfboard

So while I was out to dinner with the girls, Husby constructed the surfboard to hang over the window. Now he needs to measure out some fabric strips to dangle off the board as a border around the window and hang the surfboard. That'll be a little while since we need to first layout the fabric for the closet curtains, and that cannot occur until the closet organization system gets completed.


*Handmade surfboard, constructed of plywood, batting, white leather fabric and black fabric fins*

*Husby decided to decorate the surfboard as it looked "too plain"*
A little bias tape and a Quicksilver patch later...tada!

* Since the Roman curtain still allowed light in on the sides, we had to orchestrate some extra windown coverage with some fabric. We ended up finding the same prismatic colored fabric in a solid and made 2 small strips for the sides to hang off the surfboard to cover the gaps*

*The final product*
Window Decor:
*Roman shade + Solid Side Strips + Surfboard Valence*

6.24.2010

ABC Book

I was able to paint all the letters for the ABC book and laid out the first 2 pages of letters and details...now we need Baby G to arrive to take lots and lots of pictures of him for the book.


*Book Cover (Martha Stewart Book)*


*Page 1*


*Page 2*


*Letters before Paint*


*Letters after Paint*